09 10

Sunday, July 31, 2011

DIY Business card

I made my own business card.  I love everything which is handmade.  I wanted to have my own business card something which express my creation and love toward handmade stuff . So here I'm with my homemade business card.


This is so simple yet looks professional .


Things you need are:

Fabric of your choice
fusible interface
Inkjet printer
Stamp
Ink pad

Pinking Shears
Single Hole Puncher

Here we go:

My business card of 2"x 3.5" size. First I prepared a excel sheet with my details and leaving enough space for stamp.

Then print on the fusible interfacing, this is very light interface so easy to print on the inkjet printer.


Now iron the fabric on to fusible interface
 

Then cut  2"x 3.5" rectangle nice and neatly with pinking shear. This is little time consuming but the result is worth it.


Use your personalized Stamper to stamp either your logo or shop name.


 With the help of the Single hole puncher make a hole


Finally your business card is ready to hang from your item.  I used satin ribbon to hang the tag.


Thursday, July 28, 2011

Nayana Bag

Hello everyone my son is feeling much better and his body is responding well to the medication. I'm back to my little corner.  Today I was digging through my gallery and i realised that i haven't updated them for very long. Nayana bag is one among the collection.
 
Nayana is a slim and stylish messenger bag with an adjustable strap. If you want a handy and light bag for a day this is a great choice.


I love the way it turned out very light and trendy. The dimension is approximately height10" and width 10" with 1" depth and adjustable strap of 49".  Its a small size bag, just enough room for your essentials


The strap is adjustable which can be shortened to wear under your arm or long enough to wear cross the body.


It is convenient to use with multiple pockets and to organise your stuff. There are 6 pockets inside, three on each side and a swivel clip for key. So your stuff are easy accessible.


Isn't this cute bag.


Wednesday, July 27, 2011

Just another day

Hope you all had great weekend. We did!!! We drove down to our friends place.  My husband drove all the way. It took 2-3 hours one way to reach the area. The road trip was fun but tiring when we returned home. After a tired day, the whole family collapsed in the bed and woke up very late.


I didn't intended to give a long gap from blogging.  Unfortunately my sewing machine broke down while i was adjusting the thread tension.  The stitch is all tangled up.  Oh dear, my Sunday tutorial is messed up. I thought its time for me to sit back and enjoy a movie; away from disappointment.   I watched '127 hours' by Danny Boyle. I love the movie beautifully effort.


After a lot of trail and error, I fixed the machine on Monday.  Hurray!! I planned to stitch when my son takes his afternoon nap.   My husband picked up my son from playschool, he was looking tired and running high temperature. We took him to the doctor and continuing with medication.  Its Wednesday today and still his fever is between 100F-103F.  The house is so silent, you realise how much your child fill our life with love.  When they are around us the house is so lively.  I will catch all soon.


Friday, July 22, 2011

Wordless moment

A wordless moment captured during the week. I love capturing what I see, which inspires me or which brings a smile on me
if you like it and inspire to do the same, I would love to see your wordless moment,please leave your link in comments


Have a great weekend!


Thursday, July 21, 2011

Flower chain in crystal and pearl

I wanted to post this last week but I kinda got heldup with other work.  Do you remember I told you January and July are months of birthdays in family.  Birthday's for this month are lined up like my hubby's - 9th, my niece's-13th and my mom's- 18th.  Its means every birthday are to be celebrated, so I better ensure great gifts for birthday babies.

Last week I was looking at all free beading tutorial sites and there are tons of sites.  And I found this tutorial  very simple and easy daisy chain by Mortira . She has a great collection of designs and step by step instructions.

I made this necklace for my niece with crystal beads.  I used wire instead of nylon thread


I realised the importance of the nylon thread, the pearl necklace came out much better


My learning process continues...


Wednesday, July 20, 2011

Wednesday Favorite - What's on the Menu

I'm happy to tell you I found this site Recipe for happiness by SandeeA. She has a lovely collection of recipes and interesting way to make your kids eat vegetable and fruits.

What's on the Menu

Today I'm going to share recipe for Refreshing summer Carrot lollipop.


You will need
Carrot
Lollipop stick
butter and sugar( as per requirement).

1.Steam the carrot till it softened
2.Toast it slightly in butter
3.Insert the lollipop stick 1-1/2" into the carrot
3.Now dip the carrot lollipop in sugar

You can freeze it for 30mins and serve it chill


I realised I could've achieved better result, by using sugar syrup as a coat on the surface of the carrot.  Sugar syrup texture is more taster and kids loves it. 

Sugar syrup: Heat 1cup of water and 2cups of sugar together in a saucepan, until sugar dissolves. Let it boil for 5mins in low flame. Keep stirring don't overheat. I will try this next time.

You might be wondering what is the red colour stuff, it is called Kozhukatta. This is made out of red rice.  You can find the recipe in my earlier post Kozhukatta


Sunday, July 17, 2011

Refashion Tube tank to Bow & button lace top

 
I had this tube tank for long, I wore it few times.  I decided its time to refashion the tube tank.  Here we go tube tank to lace top embellished with bow and button.

Remove the elastic from the tank so it is easy to work around.
The tube tank is ready for refashion.

Material required:

1 Tube tank
1/3 yard Lace
1/3 yard Matching lining fabric
Sewing marker
Bias tape
Matching thread and button.
Scissor, cutter,measuring tape (I think rest you know)

If I don't have the pattern ready, this is how I go-about cutting the bodice part. I'm not a professional, I did this from the scratch.  Other method is if you have tank top probably you can trace the pattern and cut off directly.


First measure the bodice part (from the shoulder till 2" above the armpit) to attach to the tube tank.   Cut the matching lining fabric 16"x16" and lay down on your table or on cutting mat.


Now fold the fabric from the left side as below.


Then fold the fabric from the top to bottom.

Your are ready to cut the armpit.  Remember to mark 2" above the armpit because when you sew the bodice to tube tank the sleeve will curve down slightly to the tube tank.
Mark the arm and cut off
Armpit is ready, open the fold and mark the front and back neckline. Now cut the neckline.

Your bodice part is ready, use this as a pattern to cut your lace bodice.  Pin it on the lace and cut away.

Your lace and the matching lining fabric bodice is ready
Attach the bias tape along the neckline
Sew it neatly. Your lace bodice part is ready
Because you are going to attach the sleeve separately to the tube tank, the sleeve from the lace bodice part will curve down slightly to the tube tank. So cut the 2" armpit curve from the tube tank.


Your tube tank should look like this.  Hope you understand why we measure the bodice part 2" above the armpit.
Pin the bodice right sides together with the tube tank and sew with 1/4” seam allowance.Take care not to sew the wrong sides.

And turn the right side out.
Cut the arm from the lace.  If you want sleeveless well then sew the bias tap along the arm and your armhole is ready.
Now sew the arm to the lace top. Wow! the lace top look beautiful, hold on there is more to come. I'm too excited to see the final result.
Cut 3"x3"square from the lace

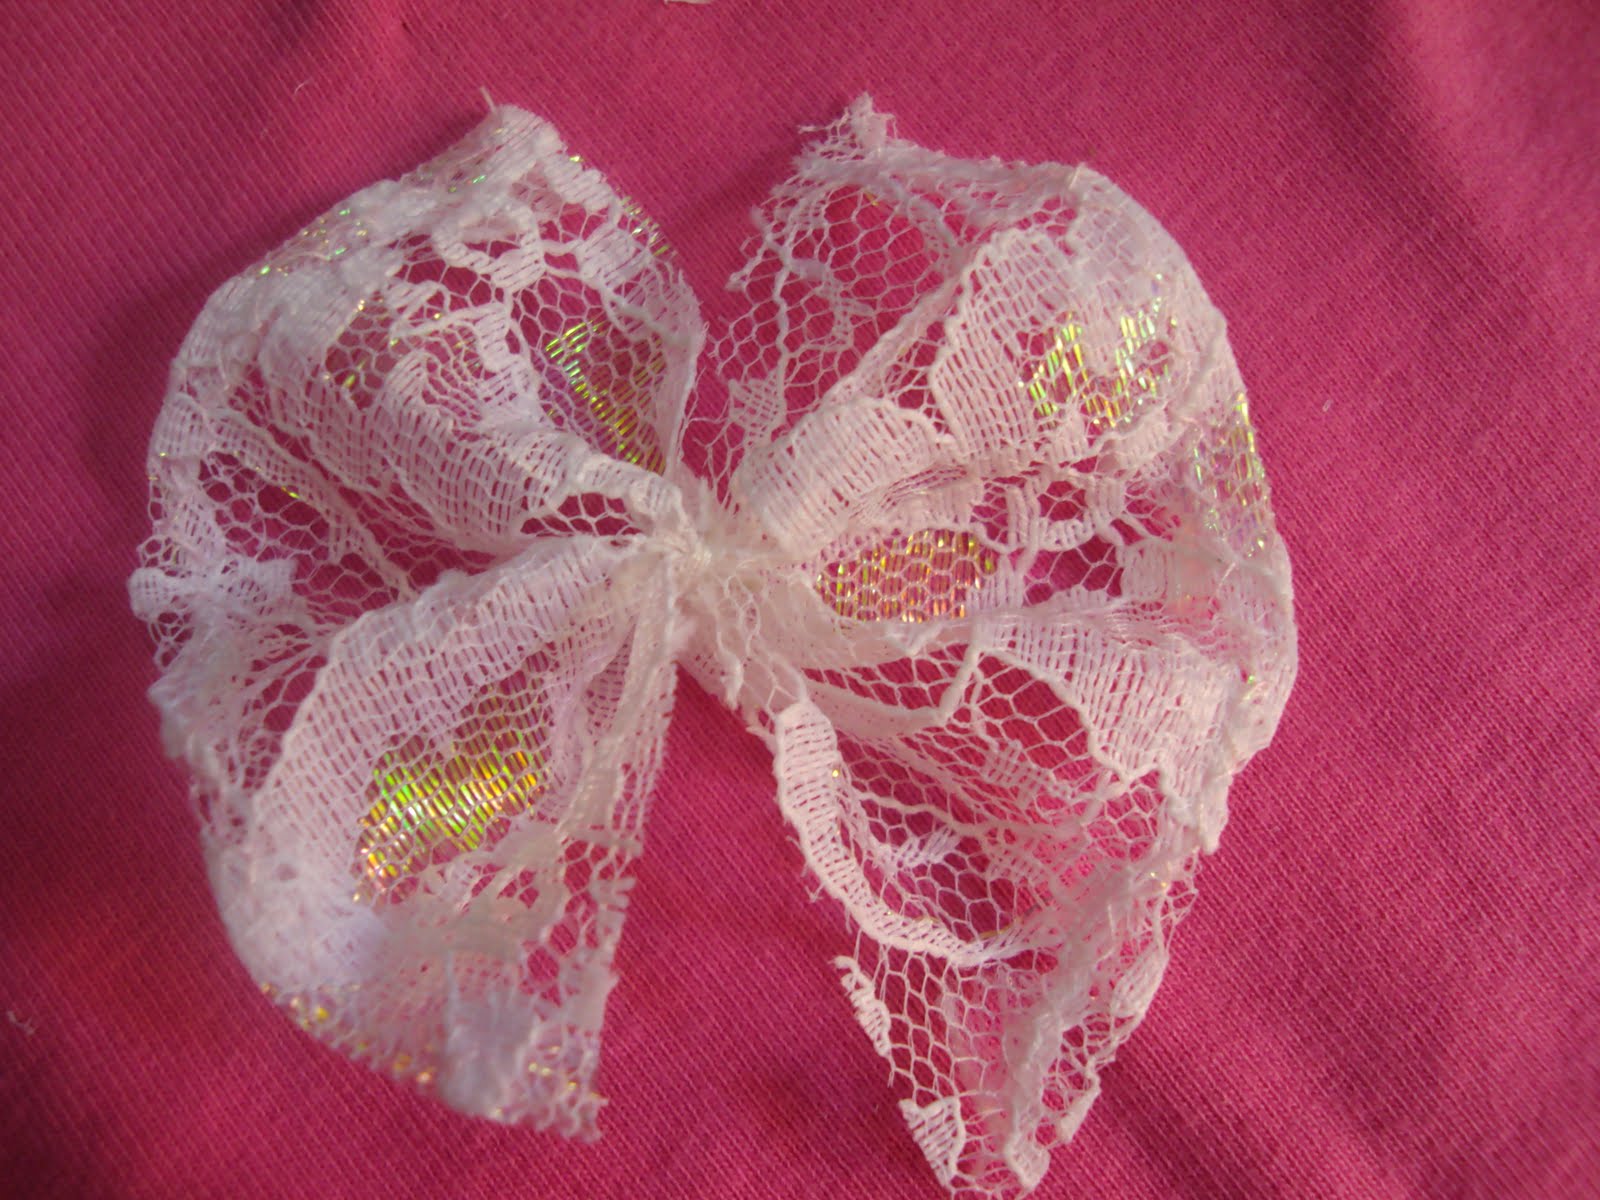
Place your fingers apart on the lace and bring it closer, so the lace fold like this.
Using the needle and matching thread stitch at the center to keep it secure
Lovely bow or butterfly you call it.
Take your lace top, measure from the center and using the sewing marker mark three spots from the bodice till the bottom of the top
Now the lovely bow is ready to be sewn along with the flower button to lace top.
Sew it tight to keep the bow and button close

Your pretty top lace is done.


Hope you like my beautiful tops with cute bow&button.  Please let me know if you have tried this...
Love to hear your comments...